Showing posts with label crafty. Show all posts

Wednesday, August 13, 2014

The Diaper Bag

I got an email the other from a lady that was actually referred to me by one of my very good friends. She was looking for a medium sized diaper bag, but she wasn't really sure what exactly she was wanting as far as well...anything. We went back and forth for almost a full day sending pictures and descriptions and dimensions...etc...when she finally emailed me one last time with exactly what she wanted. So I went to joanns the next day and got all my supplies, or at least the supplies that I didn't already have. I love going to the fabric store, but it is way too tempting to buy everything I see that I believe is cute. I try to get in and get out before I make myself go broke! Anyway. I had recently done a messenger back put up by Crazy Little Projects. It turns out that it was the perfect size for what my customer was wanting. So we went with a grey chevron with a teal solid print accent color.
It turned out too cute! I love the color pop!
She also wanted one side pocket for a zippy cup. Now I have to admit that this was my first tapered/elastic job, but it turned out excellent!
It wasn't too hard. I did end up doing it twice though. My husband made me go to bed last night so as I laying in bed, all I could think about was measurements. What I originally planned to do was for sure not going to work. I had to make the pocket bigger. Well, as you can see, it worked!

The inside, she wanted 4 pockets. I did 2 tapered pockets and 2 sleeve pockets.
Perfect for diapers and wipes! Tapered pockets take time though! My goodness!
And lastly, she didn't want the flap which was perfectly fine with me. That made it a little easier for me, but she did want a snap shut. I always use the magnetic snaps just because they are easier to install and initially, they DO look classier.
I wanted the bag to be a little more open so I made a snap tab instead of just putting both sides of the snap in the lining.

Since the cotton I used for the lining is quilting fabric, I interfaced it with a fusible flex interfacing for durability and stability. As I was finishing today though, I almost forgot the fusible fleece interfacing for the body! Good thing I remembered. That would have been a major overhaul of a redo. I have a love/hate relationship with my seam ripper. 

Oh yeah...here is my first messenger bag with the flap!
It was a super fun project and really made a good diaper bag as well.


Have a happy Wednesday!


Saturday, August 9, 2014

The Messenger Bag

I'm in the middle of doing a diaper bag but waiting on some PUL fabric to come in the mail, so I decided to use my extra pretty diaper bag fabric to make a small messenger bag for my daughter. It turned to be bigger than I expected, but that's alright. She can grow into it :) I got the tutorial here.

It was super easy to follow and I got this bag done in an afternoon.

Please excuse the mess that is in the background in the pictures. When I get into my sewing, some things just get a little neglected.

Have a happy weekend!

Thursday, August 7, 2014

Yeah for Car Seat Straps!

Who doesn't like cute baby items!? I know that I love them...at least when my kids were babies. I am trying my hardest to appeal to all kinds of people of kind of person wants the best for kids? MOMS!  Whether you have something for a day or keep it until it's falling apart, you get what you think is cute b/c babies don't have any say in the matter. This is the area where mommies get to be creative and shop around for newest, trendiest and cutest item that everyone else is going to go gah-gah over...

Oh you know it's true! I have been coming up with some really neat car accessories. The first was an adult seatbelt shoulder strap.
cute huh?? I can make all kinds of them with different patterns!

Then I started to look them up and found that there were more baby car seat neck/shoulder straps so then I went shopping!


So that's what I have so far, but there are a couple more patterns in my Etsy Store. Check it out! Lots of goodies and lots more to come!
Happy Thursday everyone!


Sunday, August 3, 2014

The Shower Curtain

Ok, so one more post for the night and then I am done. I have been putting off this particular for whatever reason, I don't really know, but here it goes. I am not an expert sewer, but I have learned in my craft how to do things and how to do them well. The more I practice, the better I get. My first project was an easter basket for my kids. Something small and easy. I am not one to tell others that they can't do something, but oh man! Did I witness a disaster of a sewing job that I did end up fixing. A lady had taken on the task of sewing a shower curtain that had a chevron pattern that hew customer wanted to match up perfect. That right there was a job! Here is the before...
Now, if you have an eye for mistakes, you should see where they are. The chevron isn't matching at all and the bottom is way uneven. That's not even the worse part because that could be fixed.

Whoever thought that this was an acceptable button hole was sadly mistaken.

I had to take the whole thing apart and start from scratch. Just taking it apart took a little over an hour. I got in a full episode of Supernatural so that will tell you that it takes time and effort and even more to fix something that should have been done right the first time. After I got the whole thing disassembled, I was a little nervous about the butchered holes on the corners and the uneven pattern. I was given an extra long piece of fabric that was cut off to finish off the hack job. If that gives you any kind of clues, the seam wasn't even in the middle of the curtain. Ugh!

(you have to know that I was doing this out of a favor to a very good friend of mine or I would have charged a lot more to do this job)

So the first thing that I had to do was pin, pin and more pinning.
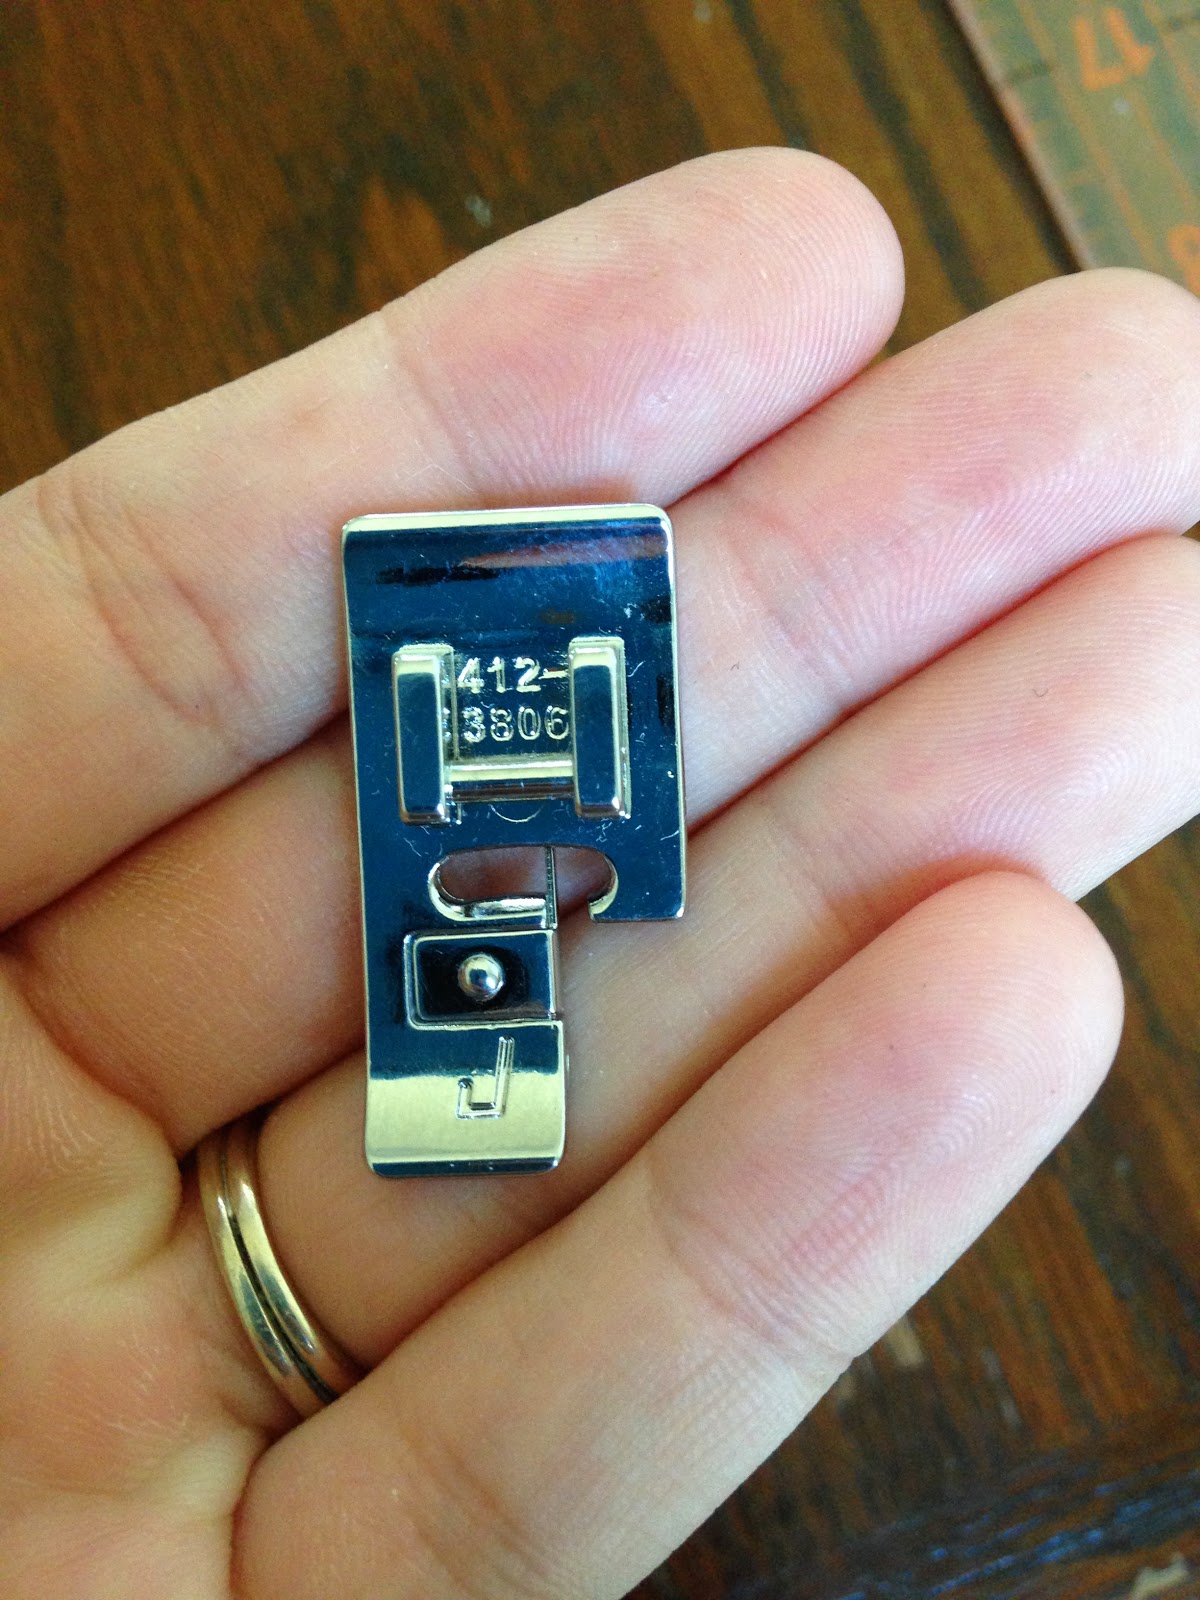
Can you tell where my seam is? I sure hope not! I topstitched the seam just to make sure that I got it perfect. My edging foot is the bomb! Just sayin.


I did that to both sides along with cutting off the excess where the hacked button holes were. I was so happy that it turned out!
As you can see, I don't have a ton of room. I work with what I have. My friend wanted to see what I had done so that is why one of the pictures, one of the hems isn't finished. Chevron matched up! I was pretty proud of that. And here is the correct way to do a button hole!
Just to show off my cool new photofy app, I'm gonna recap the button hole!
And here is the shower curtain hanging up!

So there it is people! A custom shower curtain. It took me total about 6 hours to take apart and fix. Let me tell you though, if you want custom items, you had better be ready to pay for it! Like I said before, I did this as a favor to a friend. She did pay me, but not as much as I would have charged anyone else for the time. Don't get me wrong...I loved this project. I was so excited when I got the chevron to match up and the button holes to look like they did, but it took time!.

Ok, really now...have a happy day! Stay in touch for the next fun project :)


Thursday, July 31, 2014

The Tutu Dress

I decided one day that I wanted to try something a little different. Something that didn't require me to cut and sew, cut and sew, etc...That brought me to thinking about what my little girl would want mommy to make. I asked her one day who her favorite Tinkerbell fairy was. Of course she would say one that I didn't completely expect at all. The Pirate Fairy. Really? That was the last Tinkerbell movie we saw, but she knows what she likes. So, I was determined to make her a pirate fairy tutu dress. Well, it didn't really turn out how I wanted it to, but it did turn out beautiful and she took the stage!
She is my little model for sure. She will strike a pose when she knows that I am taking her picture. 
The Pirate Fairy wears a dark green outfit with a brown belt and some really awesome looking boots. Unfortunately I ran out of the green, so it's not more of a pretty princess fairy tutu dress. This is up for sale in my Etsy store

It was a really fun dress to put together, but now I am on a mission for more! I have been searching Etsy and any other websites that would have sell dresses like these, and I cannot find the fairies dresses, as in all the fairies from the Tinkerbell movies. I have the supplies to work on Tinkerbell next so until next time! Happy crafting!

Wednesday, July 30, 2014

Where it Started...

Ok, so maybe I won't go back as far as where exactly I started to sew, but I will start from our move to CA and why I love doing what I do.

I'm a stay at home mom so obviously that I means that I do absolutely nothing all day long! HAHA! I hope that you know that I am joking. Between making sure the children are fed, bathed, clothed, and not getting into any trouble at (rolls eyes), I have to keep up with daily household work i.e. laundry, dishes, sweeping, cleaning, making sure the husband has a nice ironed shirt for work in the morning...BTW, I hate ironing, but it has to be done, and at last but not least, dinner when the husband gets home. I have a confession though. I don't always have dinner ready for when he gets home. I try, but I usually get preoccupied. By what exactly? What this blog is going to be all about. My sewing, crafts and more.

Moving to CA has been a huge adjustment b/c it is so expensive. There are no more random shopping trips. I don't even go to Target as much as I like (and I love Target). I'm watching what I spend at the grocery store and make sure that I don't drive too much just so I don't have to put gas in my car.

Good thing I already had a fabric inventory built up! I was a fabric hoarder! Ok, so maybe not that extreme, but close to it. I always start with Pinterest. I am always able to find fun new projects to do on there. Hi, my name is Mary, and I am a Pinterest Addict.

Anyway, one day, I decided that I didn't want to carry around a large wallet anymore and wanted make one for myself. And so birthed this...

Pretty nifty huh? I sent a picture to my sister, and she asked if I could make her one that fit 2 iPhones, a few credit cards and her earphones. Of course I could! So this one was birthed...This isn't the exact one that I sent to my sister, but you get the idea. I made myself one after that, and that is all I carry around.
This particular clutch was made by request of a friend, and yes, it was paid for. 

So here is where this blog is leading to. I am working on these items and more to make and sell. I have excellent prices and do stand up work! If I wouldn't buy, I won't try to sell it. Got it? This blog is also for your enjoyment. If you just want to stop by and read of all the fun things that I get to do and everything that I am learning, that's great! I am here to aspire and inspire. I am so excited to get this project started with you all, and I hope that you stick around long enough to see the big things that I have in store! Happy Sewing!